Follow Me On Social Media!
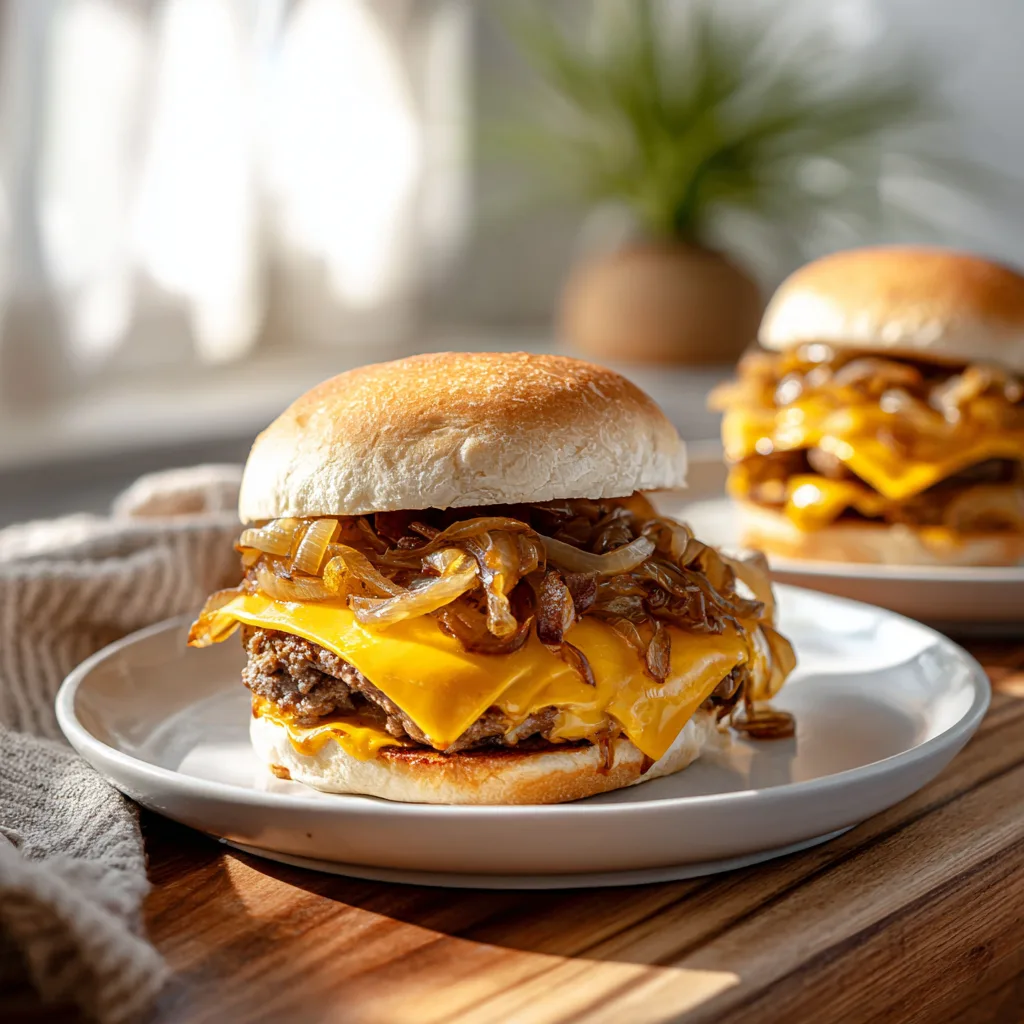
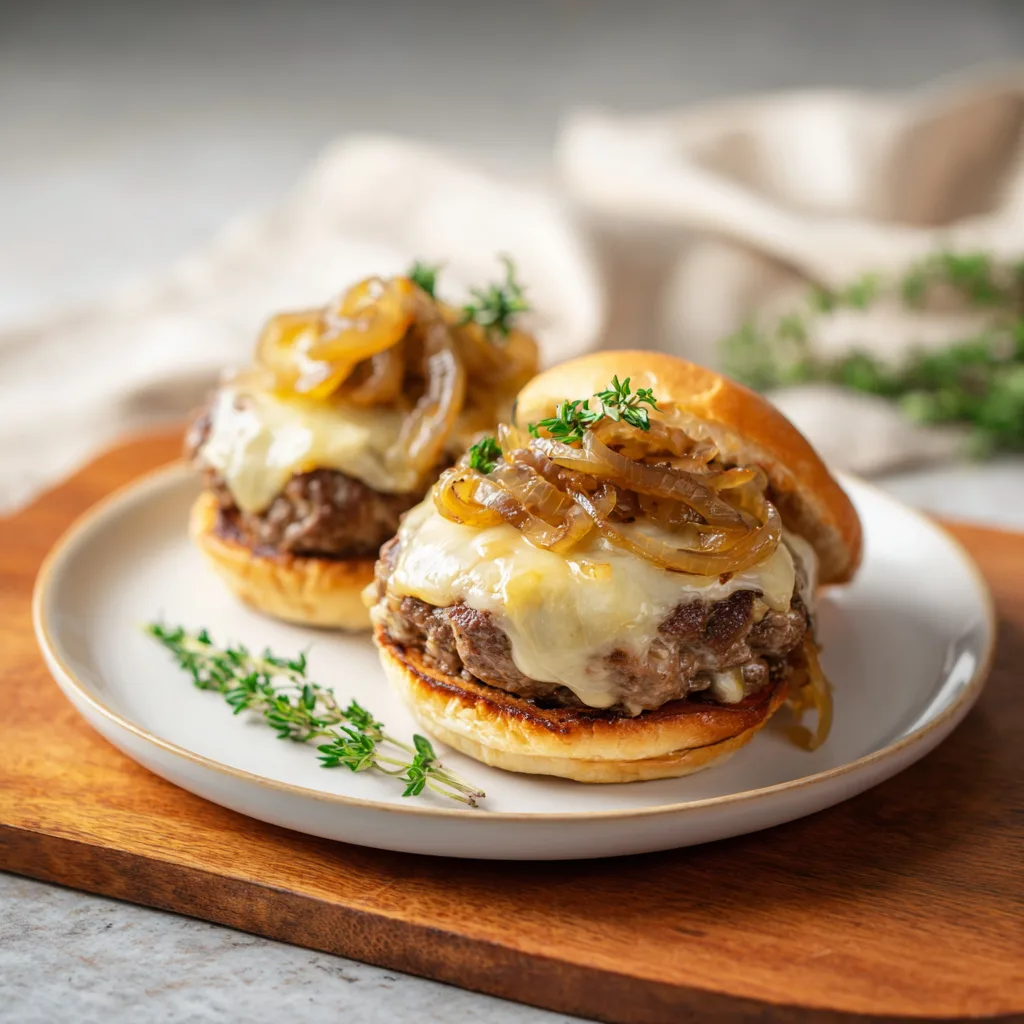
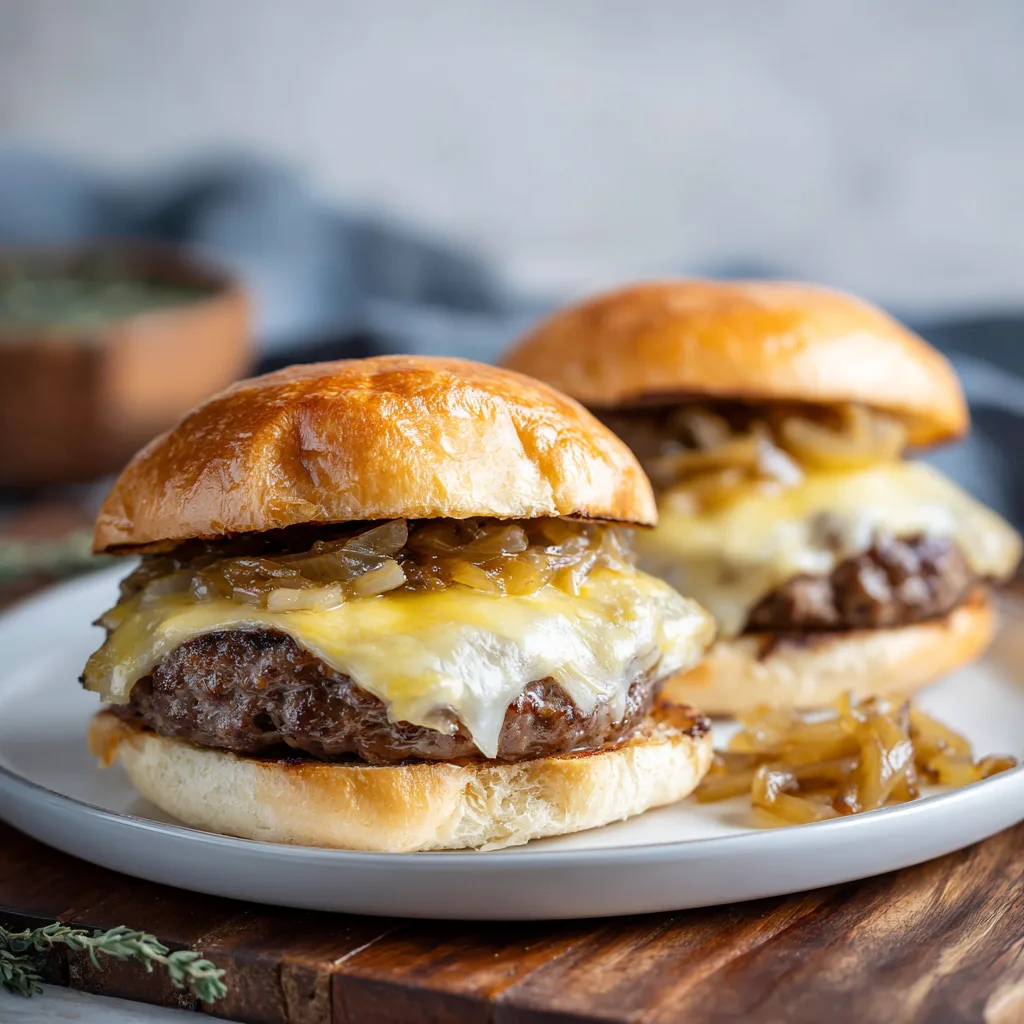
Mouthwatering Gluten-Free Flying Dutchman Burger
The Ultimate Bunless Burger Experience
If you love bold, juicy burgers but want to skip the carbs and gluten, the Flying Dutchman Burger is about to become your new obsession. Inspired by the famous bunless creation from In-N-Out Burger, this burger replaces traditional bread buns with perfectly melted cheese slices — yes, cheese becomes the “bun.”
The result?
- Intensely savory flavor
- Juicy, perfectly seasoned beef
- Melted cheese layers hugging the patties
- Zero gluten, ultra low carb
This recipe delivers a restaurant-quality gluten-free burger that’s keto-friendly, carnivore-friendly, and unbelievably satisfying.
What Is a Flying Dutchman Burger?
The Flying Dutchman is essentially:
- Two beef patties
- Two slices of cheese
- Optional grilled onions
No bun. No lettuce wrap. Just meat and cheese.
This makes it:
- Naturally gluten-free
- Keto-approved
- High-protein
- Low-carb
It’s simplicity elevated to indulgence.
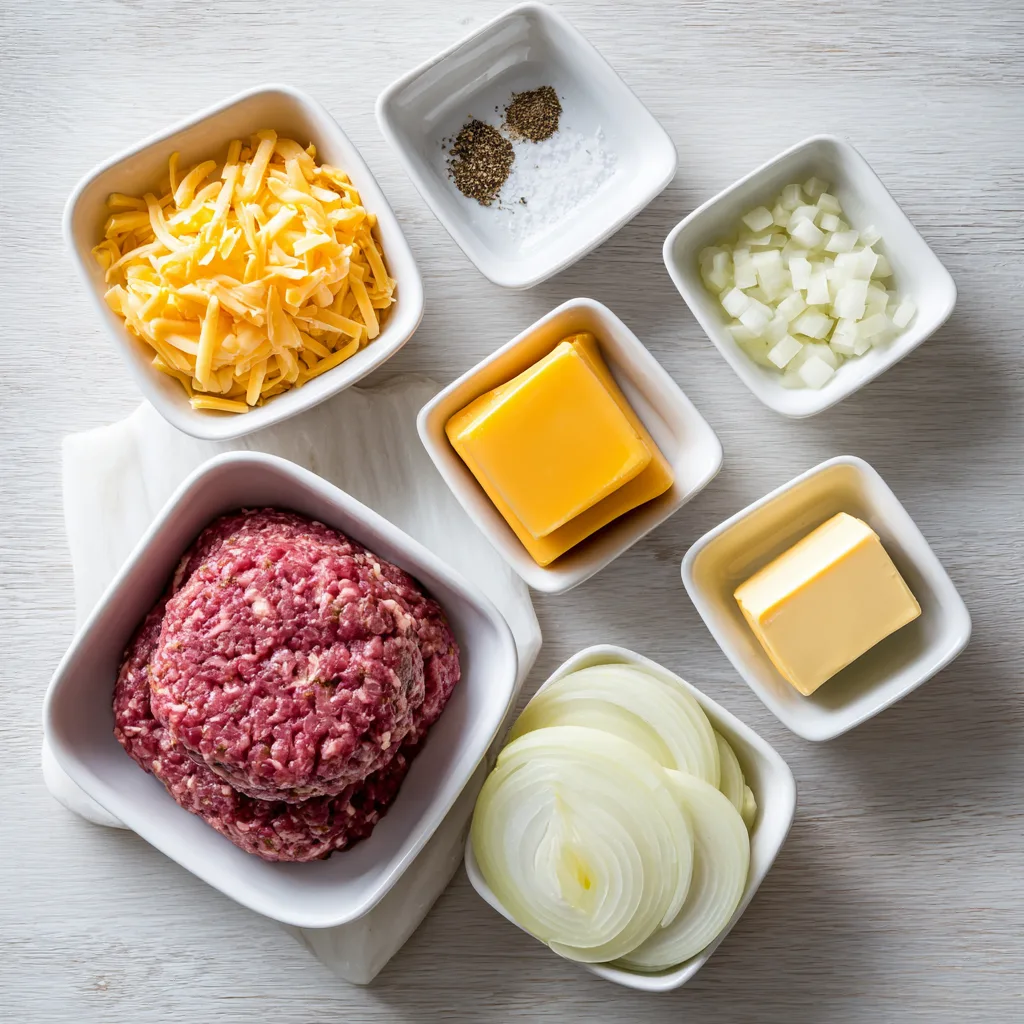
Ingredients
- 1 pound ground beef (80/20 recommended)
- ½ teaspoon salt
- ½ teaspoon black pepper
- 4 slices cheddar cheese (or American cheese)
- 1 medium onion, thinly sliced
- 1 tablespoon butter (for onions)
Optional Additions (Still Gluten-Free):
- Pickles
- Mustard
- Sugar-free burger sauce
- Avocado slices
Instructions
- Divide ground beef into 4 equal portions and gently form into thin patties. Do not overwork the meat.
- Season both sides with salt and black pepper.
- Heat a skillet or griddle over medium-high heat.
- Cook patties for 2–3 minutes per side until browned and cooked to desired doneness.
- During the last minute of cooking, place a slice of cheese on each patty and allow it to melt.
- In a separate pan, melt butter and sauté onions over medium heat until caramelized (about 8–10 minutes).
- Assemble by placing one cheesy patty on a plate, top with caramelized onions, then stack another cheesy patty on top — cheese sides facing outward to act as “buns.”
- Serve immediately while hot and melty.
Why This Burger Is So Satisfying
The magic comes from fat and umami:
- 80/20 beef provides juiciness
- Melted cheese adds richness
- Caramelized onions bring sweetness
- Salt enhances natural beef flavor
Without bread, the flavors become more intense and concentrated.
Tips for Perfect Juicy Patties
- Use high-quality ground beef.
- Press patties thin for authentic style.
- Don’t flip repeatedly — once per side is best.
- Rest patties briefly before stacking.
Make It Keto or Carnivore
For strict carnivore:
- Skip onions
- Use only beef and cheese
- Add extra cheese if desired
For keto:
- Add avocado
- Use sugar-free sauces
- Serve with low-carb pickles
Serving Ideas
Pair with:
- Air-fried zucchini fries
- Roasted cauliflower
- Simple side salad
- Keto coleslaw
Storage & Meal Prep
- Store patties separately in airtight container up to 3 days.
- Reheat gently in skillet to preserve texture.
- Avoid microwaving too long (can toughen beef).
Gluten-Free Flying Dutchman Burger
Juicy beef patties sandwiched between melted cheese slices instead of buns, creating a low-carb, gluten-free burger inspired by the famous Flying Dutchman style.
Ingredients
Equipment
Method
- Form ground beef into thin patties and season.
- Cook patties in skillet until browned on both sides.
- Add cheese slices and allow to melt.
- Caramelize onions in butter.
- Stack patties with onions in between, cheese sides outward.
- Serve hot and enjoy.
Notes
Use high-fat ground beef for best juiciness. For strict carnivore version, omit onions.